
This lesson is made with PSPX9
But is good with other versions.
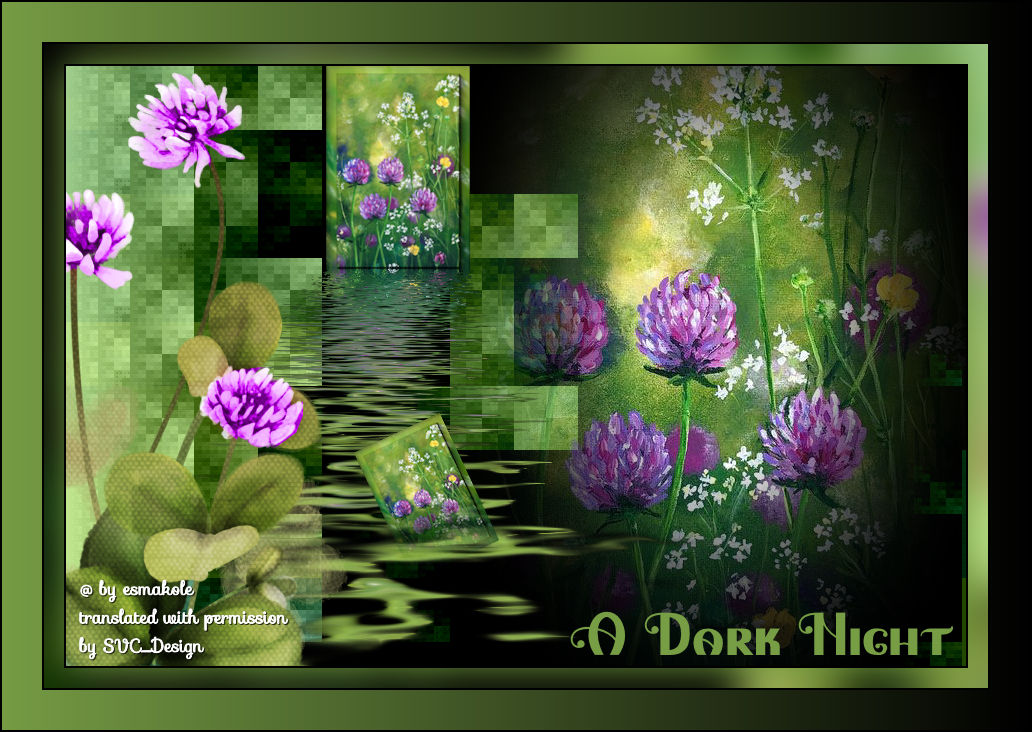
© by SvC-Design
Materialen Download :
Here
******************************************************************
Materials:
20-20
alfa
clovers
kleuren
Leny-tekst
plaatje
******************************************************************
Plugin:
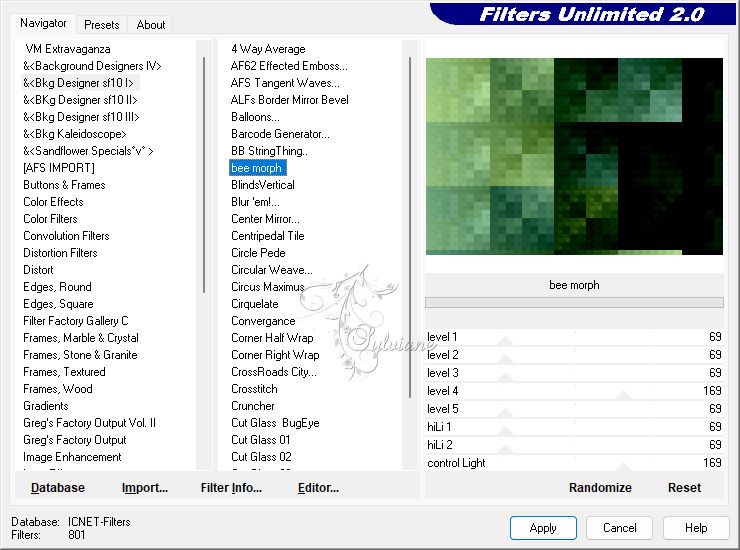
Effects – plugin - unlimited 2.0. - &<Bkg Designer sf10l> - bee Morph
Effects – plugin - AAA Frames – foto frame
Effects – plugin - Flaming pear - Flood
******************************************************************
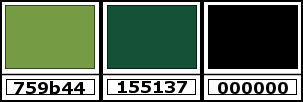
color palette
:
******************************************************************
methode
When using other tubes and colors, the mixing mode and / or layer coverage may differ
******************************************************************
General Preparations:
First install your filters for your PSP!
Masks: Save to your mask folder in PSP, unless noted otherwise
Texture & Pattern: Save to your Texture Folder in PSP
Selections: Save to your folder Selections in PSP
Open your tubes in PSP
******************************************************************
We will start - Have fun!
Remember to save your work on a regular basis
******************************************************************
1.
Foreground color 759b44
Background color 155137
create a linear gradient
2.
Open alpha in psp
Window - duplicate
Minimize the original - we are working on the copy
Fill the image with the gradient
3.
Effects – plugin - unlimited 2.0. - &<Bkg Designer sf10l> - bee Morph
4.
Open plaatje
Window - Duplicate
Put the duplicate aside for a moment.
Back on the original
Layers - Promote background layer
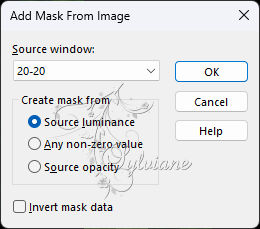
5.
Layers - New mask layer - from image - Find mask 20-20
Layers - Duplicate
Layers - Merge - Merge group
Edit - Copy
Back to your image
Edit - Paste as a new layer on your image.
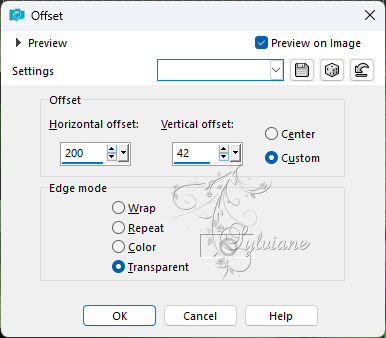
6.
Effects - Image Effects - Offset
7.
Continue on the duplicate of the image you put aside.
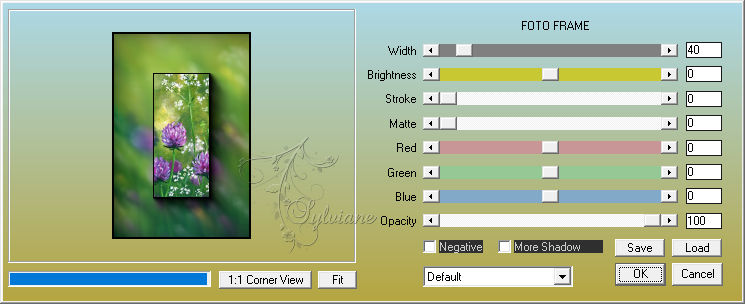
8.
Effects – plugin - AAA Frames – foto frame
9.
Image - Resize – 35%
No check mark on resize all layers
Image - Resize – 75%
No check mark on resize all layers
Window - Duplicate
Put this one aside
back on the original
Edit - Copy
Back to your image
Edit - Paste as a new layer on your image
10.
Effects - Image Effects - Offset

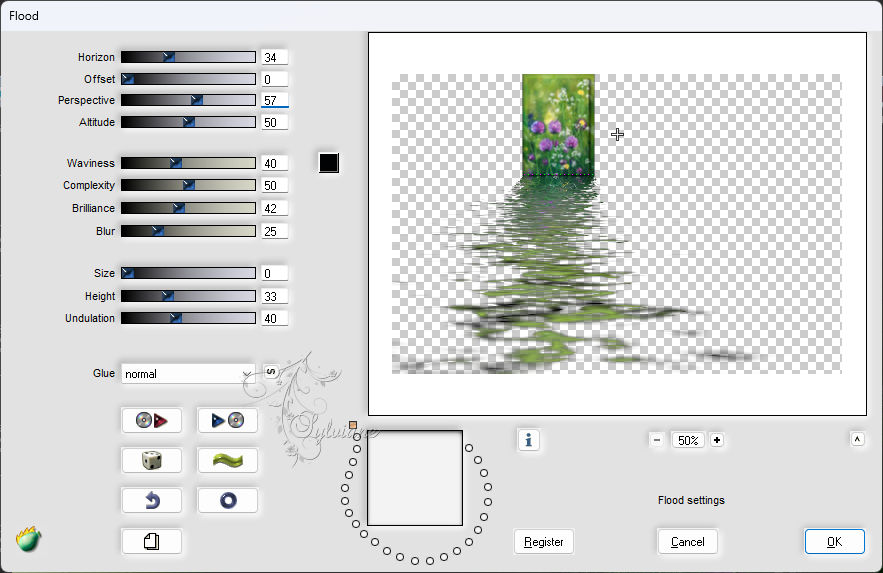
11.
Effects – plugin - Flaming pear - Flood
12.
Activate the duplicate of the image you put aside
Image - Resize – 65%
Check mark resize all layers
Edit - Copy
Back to your image
Edit - Paste as a new layer on your image
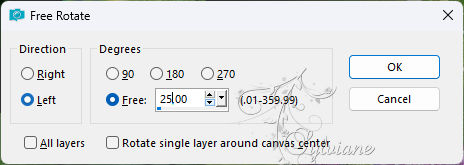
13.
Image - Rotate - Free Rotate 25 - to the left
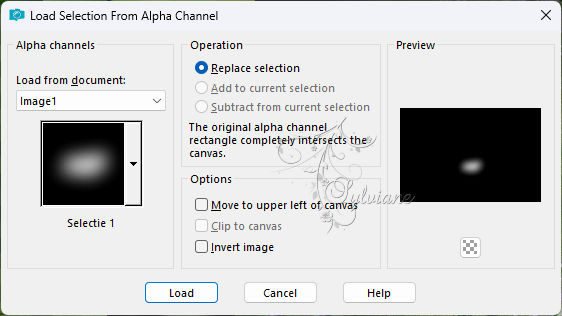
14.
Selections - Load/Save selection - Load selection from alpha channel - Selection 1
Edit - Erase
Edit - Erase repeat
Again Edit - Erase
Selection - Select None
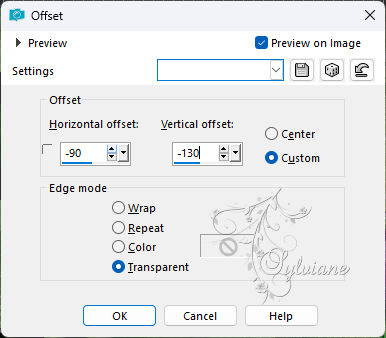
15.
Effects - Image Effects – Offset
16.
Adjust - Sharpness – Sharpen
17.
Open clovers
Edit - Copy
Back to your image
Edit - Paste as a new layer on your image
18.
Effects - Image Effects – Offset

19.
Open Leny-tekst
Edit - Copy
Back to your image
Edit - Paste as new layer on your image
Put the text where you like it
20.
Layers _ merge - merge all layers
Edit - Copy
Set the background color to black
Image - Add Borders – Symmetric -2 Pixels – color: black
Image - Add Borders – Symmetric - 20 pixels - foreground color
21.
Layers - New raster layer
Edit - Paste into selection
Effects - Blur - Gaussian Blur - 20
Selection - Select None
Image - Mirror – mirror Horizontal
Layers - Merge - Merge all layers
22.
Image - Add Borders – Symmetric -2 Pixels – color: black
Image - Add Borders – Symmetric - 40 pixels - foreground color
Image - Add Borders – Symmetric -2 Pixels – color: black
Select the wide green border
Set your background color to black
Fill the border with the gradient with settings as described before.
Selection - Select None
23.
Put your name or watermark on the image
Image - Resize 900 pixels width
Save as jpg.
Back
Copyright Translation 2024 by SvC-Design
------------------------------------------------------------------------------
Thanks to all who created